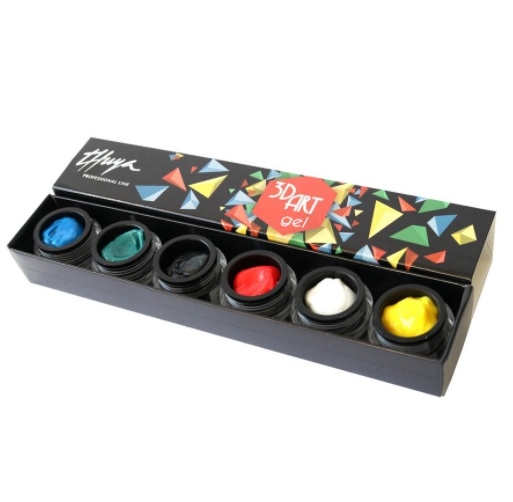
Thuya KIT 3D ART GEL
TilbudNOK693,60
Førpris:NOK816,00
Rabatt
-15%
ekskl. mva.
The 3D Art Gel can be worked either on natural nails after a semi-permanent manicure or on artificial nails
STEP BY STEP
1. Open the color with which you want to make your decoration and take the product with the help of the gel shaker or dooting tool. The quantity of the product is minimal as it expands very well. We place the product on the side of the back of our hand and mould it a little bit to heat the product so that it is easier to mould.
2. Once we have the product molded on our hand, we help ourselves with a finger to deposit the product in the nail plate and distribute it in the desired way.
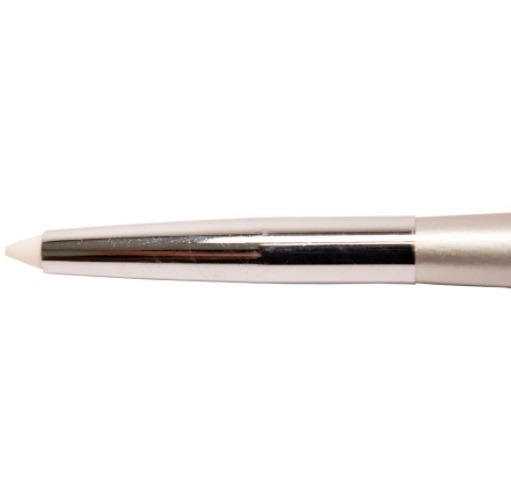
3. With the product on the nail, we will dip the brush in a container with gel finisher that will help us to mold.
4. Once the desired shape of the decoration has been achieved, introduce it into the lamp: LED 30 seconds / UV 2 minutes.
5. Once it has dried, it hardens and then we can continue adding and working different parts of the design on the same nail.
*It is not advisable to apply Top Coat gel at the end of the design to maintain the volume as it is a product that dries completely.